I always hated the upstairs bathroom off of the master suite when we bought the house in 2013:

I was kinda happy when the original shower stall started leaking in 2016 and we brought in our favorite plumber to replace the whole bathroom. We were really happy with the results.
It turns out that you should never hire a plumber to finish your bathroom when it is the last project before they retire. It turns out that he never really waterproofed the shower area and it had been leaking pretty much from the day he installed it.
We suspected that there was a problem, but kept fooling ourselves by saying things like “Was the floor always this spongy?” or “That bubble in the kitchen floor ceiling was probably always there?” We finally had to bite the bullet when the floor dipped 1/2″ as you stepped out of the shower.
Lina was supposed to just remove a small part of the bathroom floor so we could see how bad it was, but she got carried away and completely removed the floor and committed us to a repair in February 2021.

The floor was a mess of three renovations and I remembered these tin covers were installed in a couple of places, which is why I thought the floor might have been sagging the entire time. We told the plumber to cut some corners to keep the costs low during the renovation, but we didn’t expect to find:
- Plumbing elbows under that tin piece that was trying to sit 2″ above the floor being held down by the tin.
- The bathtub drain didn’t have a trap, was the wrong size, and was barely connected with a rubber transition.
- Another piece of tin was installed under the tub, which is the heaviest thing upstairs.
- Two joists had been almost rotted through by the leak.
- PVC and ABS joints connected together.
- The shower fixture was connected backwards.
- None of the plumbing was supported. It was either floating or resting on the drywall ceiling below.
We tried to get a contactor to replace the floor, but they wouldn’t even give us a worst case quote until the project had been started, so we started on the demolition ourselves:
We tried to find a contractor to do the work, but they really didn’t want to do the job and most of the people we contacted wouldn’t even look at it, some wouldn’t give us an official quote, and some said they wouldn’t be available until May. So we decided to tackle it ourselves part-time and moved all of our bathroom stuff into the basement.
I decided to do the floor right this time, so off it went. Then we brought in an engineer who told us we needed to sister the rotten joist. Then he noticed that the previous owners ran the toilet drain improperly through a joist, so we had to sister that one as well.
Then I had to redo the plumbing to each area. I wanted to test the joints and created this little jig with parts from previous projects to temporarily block the pipe while I tested it. I looked to see if a commercial version existed and it does, but that would have been another $60 and it would have been a pain to bring the air compressor upstairs.

A relatively small part of the kitchen ceiling drywall really needed to be replaced, but there were also rotten parts at the previous shower location. I decided it would be easier to just replace the entire ceiling, and we could get more lights in the kitchen at the same time. So I installed new LED lights in the old ceiling to see if it would all work:
There were electrical wires and radiator plumbing running through the joists that needed to be sistered, so I moved the wiring and we hired a plumber to move the plumbing. Moving the radiator plumbing introduced air into the system, which was still making noise days later, so I got on the YouTubes and learned how to purge the system. The heating company put in a lot of valves, but a few key ones were missing; so I had to modify the procedure quite a bit and that caused some havoc.
The heating system wouldn’t restart after the purge and I called the plumbing company several times in a panic. He walked me through it, but it still wouldn’t start. I finally figured out that he had installed a dummy electric switch that wasn’t connected to anything. I had closed all of the switches during the purge and this one needed to be forced open for the system to work. I am now a radiator heating system expert! I also found that our system inlet valve was leaking and replaced it myself now that I was an expert.

The plumber charged us twice what I thought is was going to cost and what he did looked easy, so I decided to replace the slip-on Sharkbite connections with soldered connections to hopefully ensure that there wouldn’t be any leaks in the future. I got on the YouTubes and learned how to solder and 4 out of five joints were perfect the first time. Now I am a soldering expert 🙂
Once all the plumbing connections were finished, the plumbing was supported, and all the wiring was finalized; it was time for the kitchen ceiling to come down.
Then we installed new drywall with our neighbor, Rene’s help. I think we did a great job for never installing drywall before.
Once the ceiling was installed, I could start working on the bathroom floor. The old floor had 3″ foam insulation between the joists, but some mice turned it into an amusement park and built some nests in it. My research suggested that insulation was not required between the joists and the one contractor we could get to come out said it wasn’t necessary; but I was worried about noise transfer and Lina wanted a fire break, so we added some noise/fire blocking insulation between the joists.
Thanks to COVID, Lowe’s was the only place I could find real plywood sub-flooring, but they wanted more than $88 a sheet. Sanded oak/walnut finished plywood was actually cheaper and I almost went that route (just to imagine the look on the next group of people who look at the floor. “They used walnut plywood?????? WTF???), but my friend reminded me that there were probably special glues and material in the flooring. Soooo… this is what over $800 worth of plywood looks like:

I used over 28 tubes worth of glue and over 1200 screws to lay the new floor down. I hope that I never have to see that floor again.
We rushed to get the job done before we left to go back to Palm Springs before the heat settled in. Our neighbor Rene installed the Schluter Kerdi waterproofing system and laid the tile for our new shower stall while we were gone.
Lina was supposed to mud, texture, and paint the kitchen ceiling, but she chickened out and we tried to find someone, but the only person who we could get out and quote wanted $1,200 to just mud and texture. I told Lina that $500 was the most I was willing to pay and she hustled and found out our old drywall guy was still in business and he quoted a little under $500. So added mud and texture, Lina painted, and I cut the holes and added the lights:
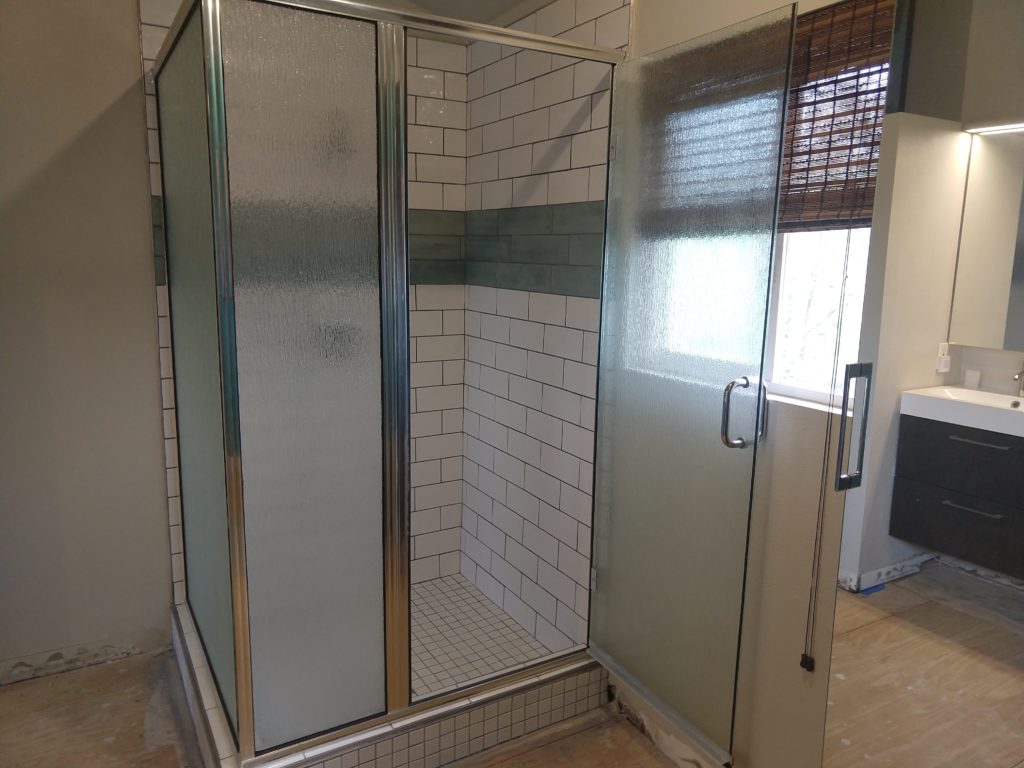
Then we took the shower doors and walls from the previous shower and installed it on the new tile stall:
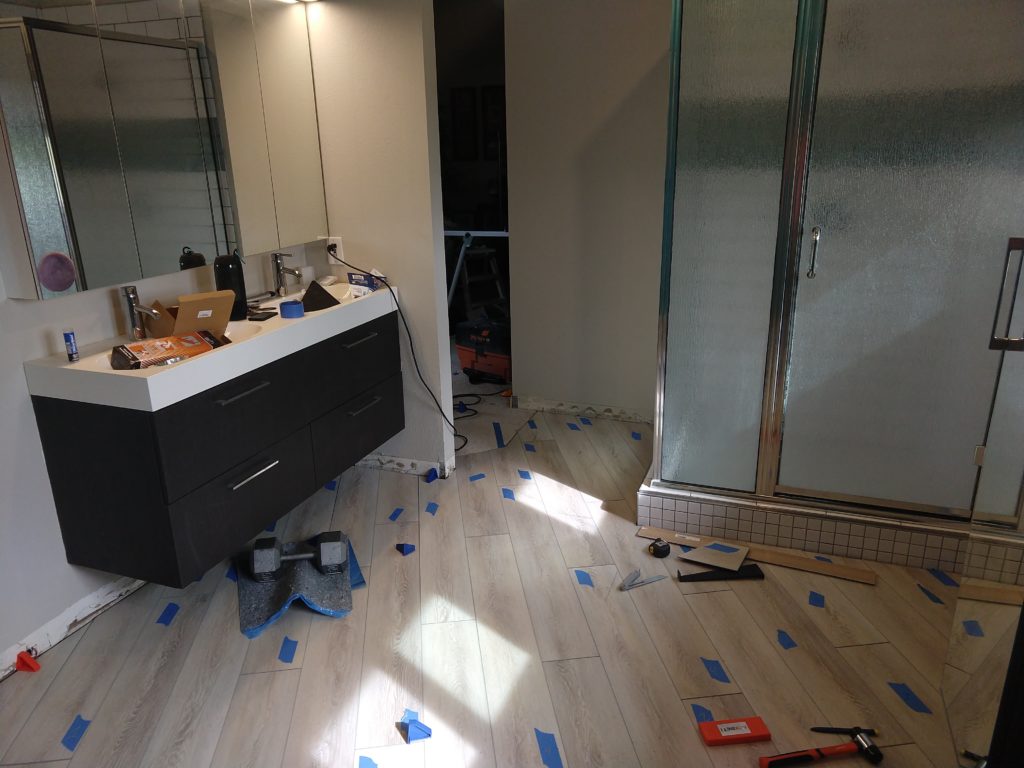
The floor was next, so it was back to the YouTubes to learn how to install flooring. The flooring salesman told me that no underlayment was required, but that was the first requirement in the instructions; so we had to wait for the underlayment to arrive. I lost a fingertip when installing the underlayment, so I learned that I should use scissors to cut it in the future. Most of it went together smoothly, but there were a few places that drove me crazy that needed a little bit of carpet so I could forget about them. Otherwise, I’m going to have to rip up half of it and try again.:
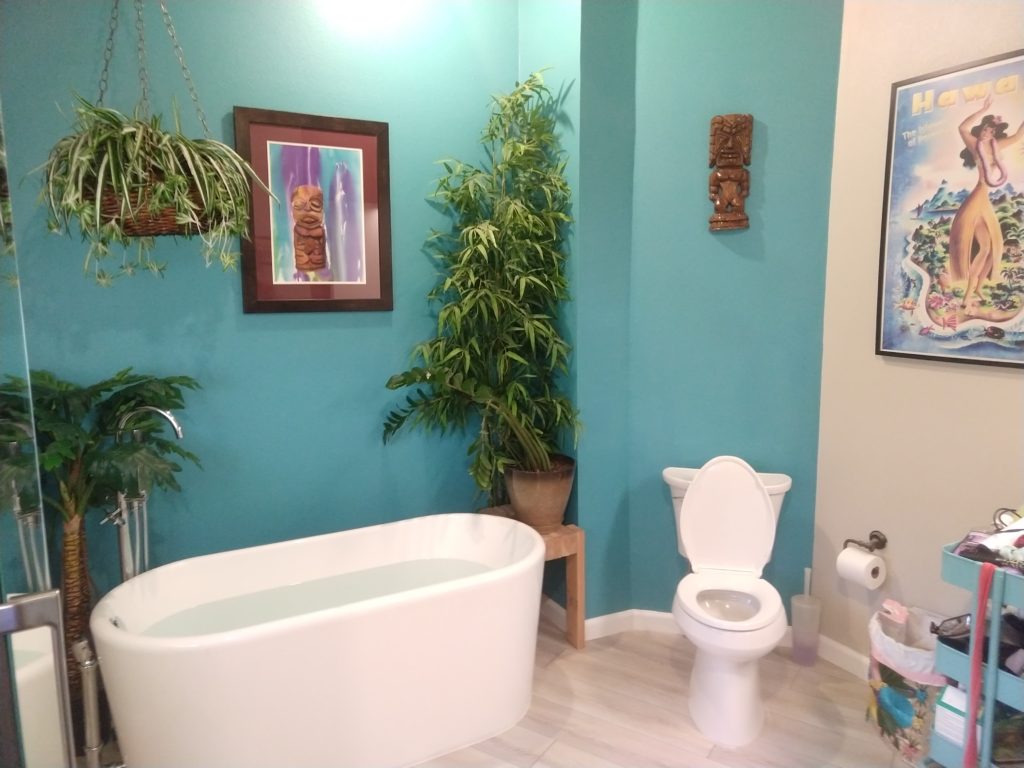
They sent the wrong threshold and shorted us on the quarter-round around the shower stall, so we’re actually still waiting to install those two pieces. But Lina was able to caulk the shower and around all of the flooring, so we put the rest back together. I think it looks great in the pictures:


You must be logged in to post a comment.