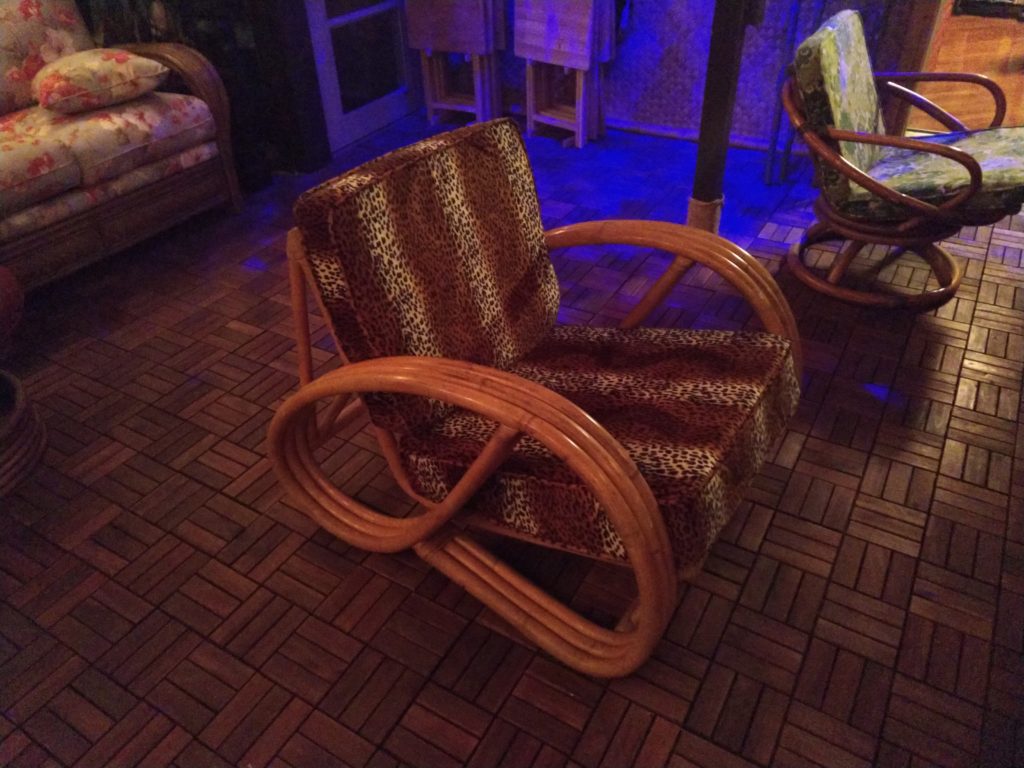
We bought a Three-String, 3/4 Pretzel, Frankl-Style chair home from Palm Springs a couple of years ago that didn’t have any cushions, so I made some cushions for it:
I wanted more furniture to match and a Facebook post showed a full set for somewhere around $400. I jumped on it with a quick “When can we pick it up” just to be first and had Lina send another request just in case the buyer thought is was rude. We headed over to pick it up right away.


We gleefully loaded the wood frames into the truck bed and then put the cushions (The seller claimed that they were the second owners and that the cushions were the original ones) into the cab of the truck, paid, and headed home. In less than a block, the smell of cat piss was overwhelming and we had to stop at the nearest dumpster so we could throw all the cushions into it. I guess I need to make more cushions.
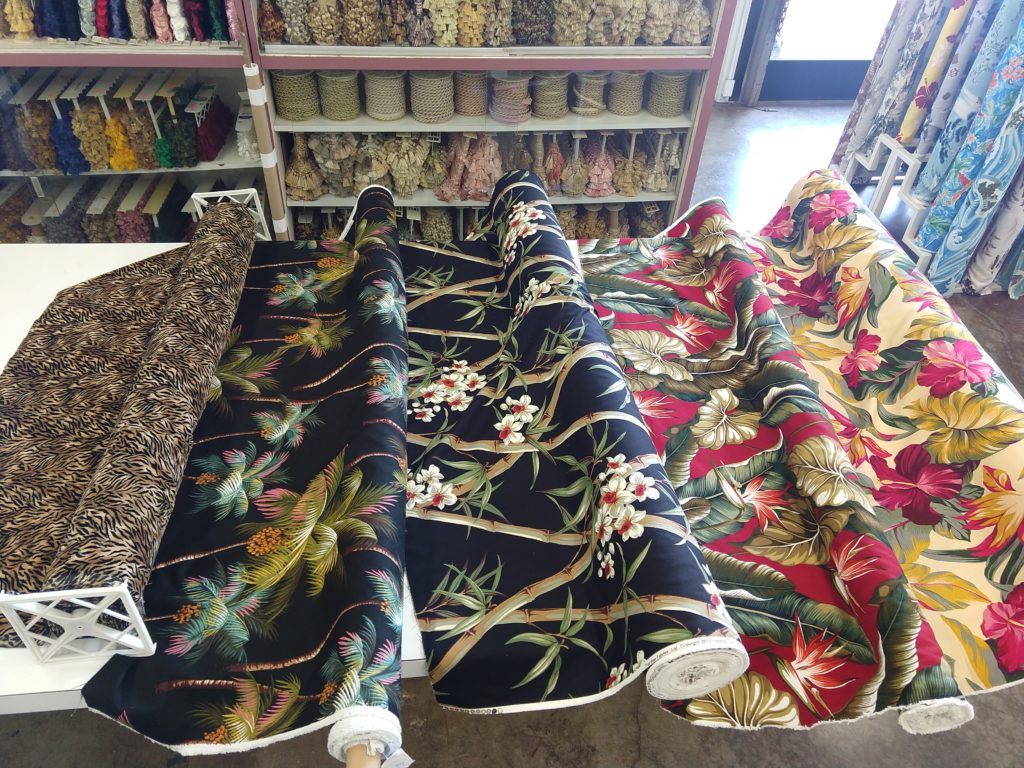
We were planning on going to Hawaii later in the year, so I was supposed to make some temporary cushions to make do with until we picked some permanent fabric in Hawaii. Life got in the way, so those temporary cushions were never made, but we did bring home a whole bunch of samples from Hawaii:
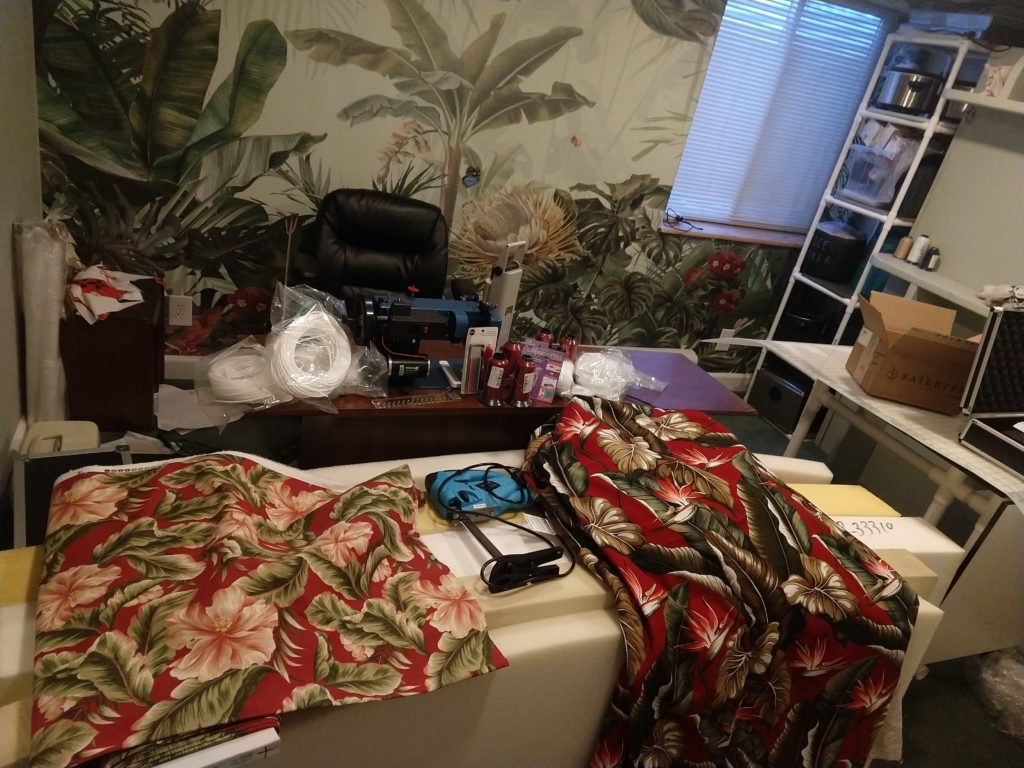
I used a 1940/50s Singer 201K sewing machine to sew all my projects up until this point (Including the cushions on the chair above) that worked pretty well. (I also realized that all of the projects involved fur, stretchy fabric, sequins, etc. I had never just sewn a project with regular fabric.) However, we have a lot of cushions and some leather projects in the future, so I decided to buy myself an industrial machine for Christmas. Here’s my new Sailrite LZ-1 and all of the fabric and materials I need to finish the cushions:
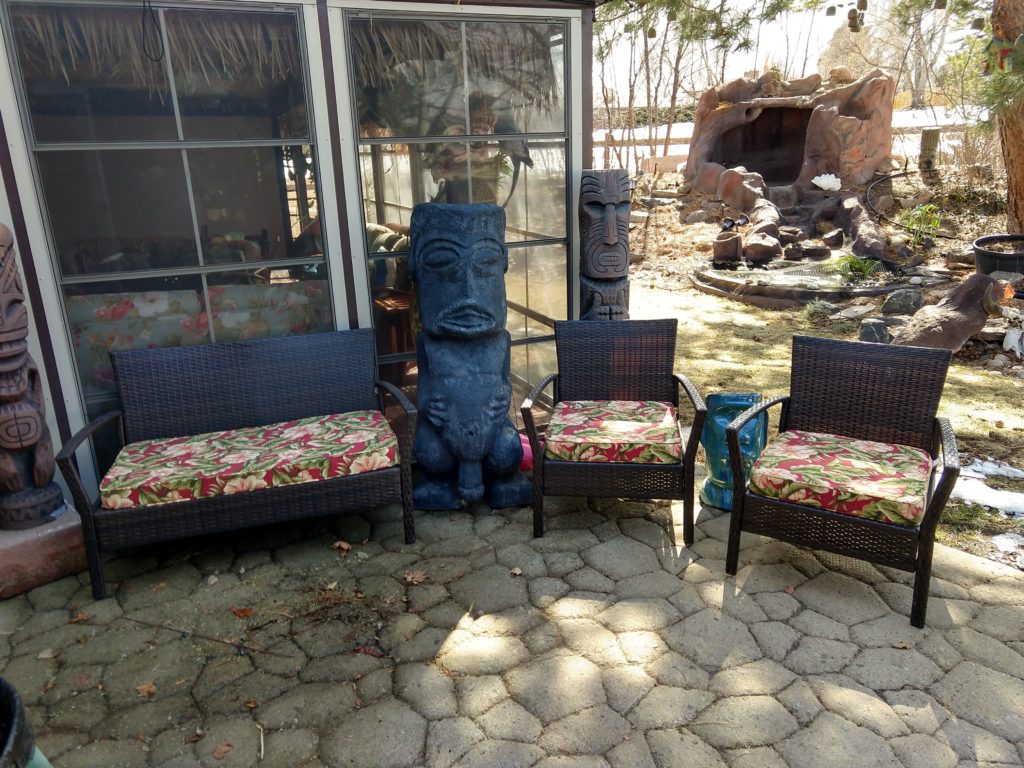
The fabric on the left was some cheap Joanne’s fabric that we were going to use as temporary cushions. They never got made, so I decided to practice making cushions and sewing on my new machine by making some outdoor cushions.
The fabric part turned out great, but I was not happy with the Sailrite foam. They wouldn’t let me return it once it was opened (You know, so I could actually see and feel it), so I vowed never to buy foam online again. That meant we had to go to our local upholstery shop for new foam.
The seller also told us that the original owner didn’t like the original cushion support and replaced it with the cheapest of plywood shown here.
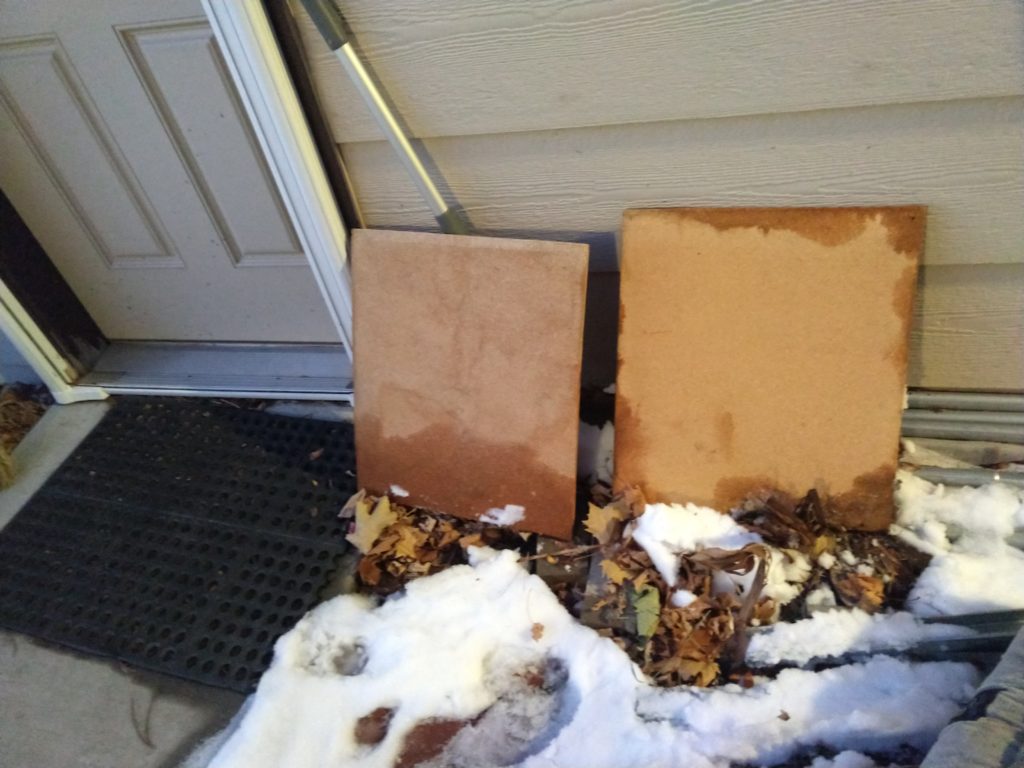
That plywood was obviously not going to do, so I was planning on just stapling some upholstery straps into place. But our friend Tami went the upholstery shop with us and noticed that the guy behind the desk was disgusted with my plan. They wanted me to get the super expensive (somewhere around $300 for twice the amount that I needed) Pirelli webbing and clips that chair probably came with and I relented. Luckily Tami is a research expert and sent me some links so I could figure out how to install them. It was very easy:
- Measure the distance between gaps,
- Knock a little off the measurement and cut the straps to length (I think I chose 1/2″ shorter),
- Put the clips on both sides so that the bent side faces the smooth side of the strap,
- Put the first clip in with the rough side of the strap facing up (bent side of the clip faces the gap)
- Stretch the strap a little and put the other clip in the other side.
They look pretty good and are very comfy. Much better than my idea. Thanks Tami!


Tami was also instrumental in picking out the foam. I was going to create a hybrid cushion with 1″ soft foam on the outside with a denser core in the middle. But she and the upholstery guys talked me out of that plan as well. We ended up with pretty much the best foam you can buy for a chair. Based on my research the seat foam was 6″ and the back was 4″, and that worked out to be perfect. I started cutting the foam with my Sailrite foam cutter and noticed that the first chair’s foam wasn’t straight, exactly what the fancy foam cutter was supposed to prevent. Turns out it was crooked and I had to take it to the vice and get it straightened out as best as I can. Next time I’ll ask the upholstery shop to cut the foam to size for me with their wonderful machines now that I know how to size the foam.


I learned in my trade-school evening upholstery classes that the sign of a good cushion is a Dacron covering that hides imperfections and turns the flat foam into a curved cushion. I added Dacron to the animal print fur cushion on the palm springs chair, but it was too thick and turned the cushion into a pillow. Those cushions have a fatal design flaw that make it impossible to fix, so I had to remove the Dacron and now hate the way they look. But they’re functional and I already have too many projects, so they’ll be there for a while.
I tried a full layer of polyester Dacron, but it was too pillowy, so I decided to split it in half and it turned out OK. The poly-Dacron has a whole bunch of melty bits that I spent a lot of time peeling off. Next time I’m going to try cotton Dacron instead. Apparently, many upholsterers use staples to apply the Dacron, but that just doesn’t seem right to me… and one of the YouTube channels about upholstery I follow shows you how to sew the Dacron properly (and she bitches that this is something she did on every cushion when she lived in the UK, but Americans don’t seem to care about quality). So I sewed the Dacron on while watching TV:
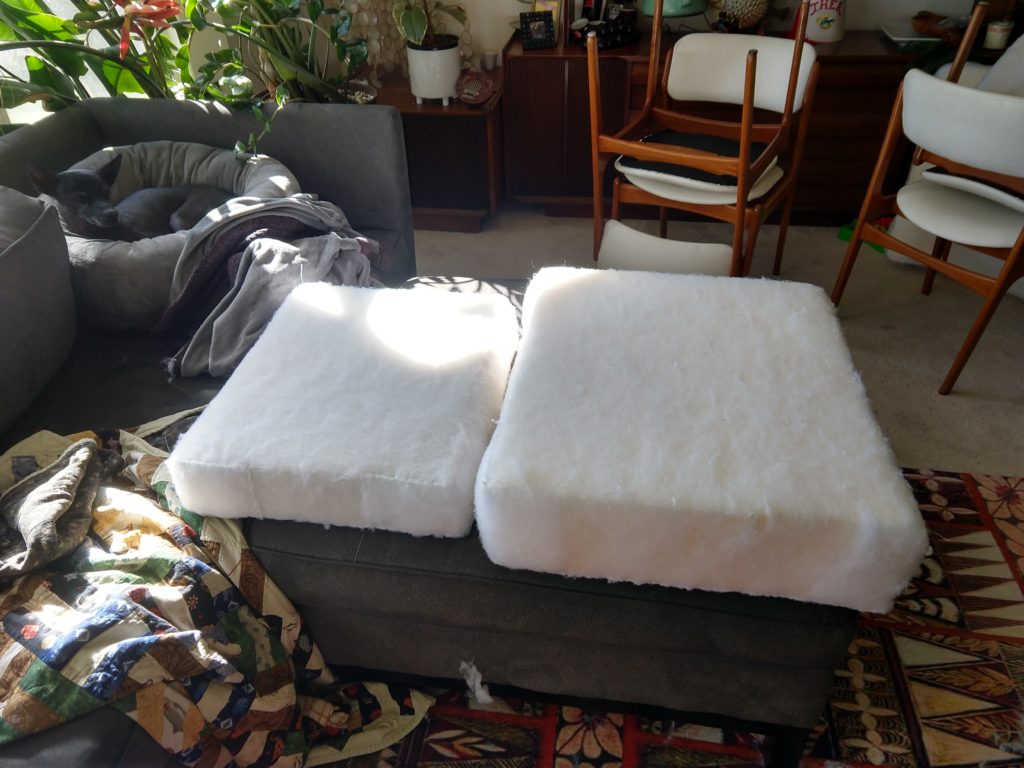
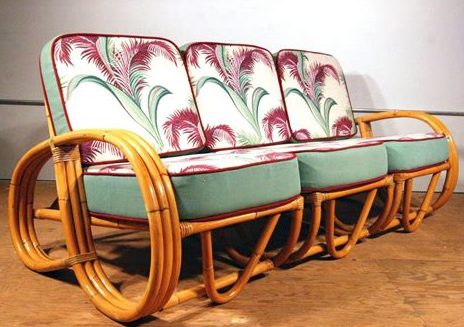
I spent a LOT of time planning and reaching out to other crafters and sewing professionals trying to figure out to lay out the fabric. Traditionally the pattern is on the faces and the boxing is a flat color, like this:
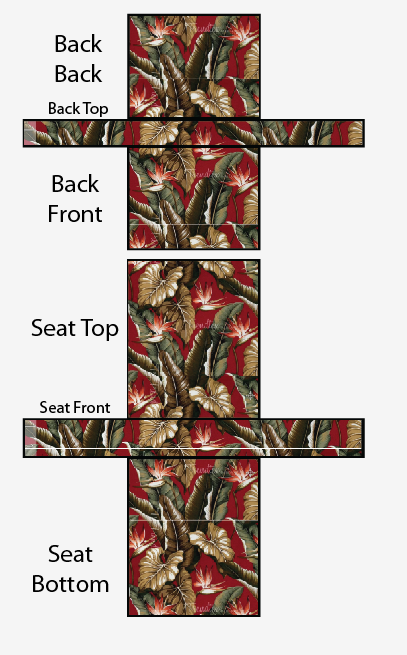
We wanted to use the fabric on all faces and I decided to make the chair as matchy-matchy as I could, which turned out to look like this:


It was time to start sewing, but we had to visit Lina’s family in Palm Springs. So I packed up all my sewing gear and was sewing cushions in the driveway of the trailer camping spot. That Sailrite machine is pretty sweet and portable. However, I still miss my Singer 201K. If I could’ve made the 201K’s bobbin case tension work correctly with upholstery thread, it probably wasn’t worth the upgrade.

The chair was finished first and all that matchy-matchy used about 5 yards of fabric…almost twice was the Sailrite Calculator figured out it should be. I also figured out that the I had to add 1/4″ to each side of the calculators fabric measurements to account for the Dacron.
I made a big mistake when creating the animal print fur Palm Springs Chair cushions that made me take baby steps when creating these cushions. The zipper is supposed across the entire back and up the sides. I don’t like how that looks, so I tried making a zipper plaque that was just the back width on the fur cushions. That makes it extremely difficult to get the cushion in and out, which is why those cushions don’t have a single layer of Dacron. I didn’t think I could get the cushion in properly with the small zipper and Dacron.
So I made the zipper reach 3″ into the sides on the new cushions, but I hate how a normal zipper plaque has a gap in the center that exposes the zipper when the cushion is properly stuffed. I think I designed my own zipper cover system (I don’t remember seeing any of these features in my research) that has:
- a normal zipper flap covering on the bottom half of the zipper,
- a long flap on the top that covers the entire zipper, including the bottom flap.
- a pocket on the sides that cover the zipper but allows it to be opened 3″ on both sides
- a scrap of fabric on the top back of the zipper so that the zipper doesn’t catch on the Dacron or the Cushion Wrap Silk Film I planned to use. (The Cushion Wrap Silk Film turned out not to be silent and I didn’t find that vacuuming the cushion made it easier to put in, so I scrapped that plan and had to sell all the unused excess on eBay because Sailrite wouldn’t let me return the unopened rolls of film either.)
I think this zipper plaque design turned out great. I also made them matchy-matchy and I think the zipper matched better than the front by accident. However, the zipper plaque matches the top of the cushion, which I realize now was a mistake. I should have matched the zipper plaque to the rear-facing back cushion that would be sitting directly above it when in-use.


The chair was finally finished in all it’s almost matchy-matchy glory [If you really want everything to match, you have to pin or baste the face, welt, and boxing together and sew them all at once so the boxing and face fabrics stretch at the same rate. I followed the traditional steps of sewing the face to the welt which locked the face fabric in place. When I sewed the combined face/welt to the boxing, the boxing stretched but the face didn’t, so it doesn’t match as well as I wanted. Lina told me to let it go 😊]


Now that I knew how to adjust the foam and fabric sizes to account for the Dacron, I started on the rest of the cushions. This time the plan was just to match the front and backs with the same pattern on each couch cushion. I turned the pattern sideways for the boxing and zipper plaque so that the pattern wouldn’t match by accident, and then I started cutting. The patterns were supposed to match the chair, but something went wrong and they are off by a couple of inches. I still used more fabric than necessary making sure that all the cushions all had the same patterns front and back, but not nearly as much as the matchy-matchy chair.
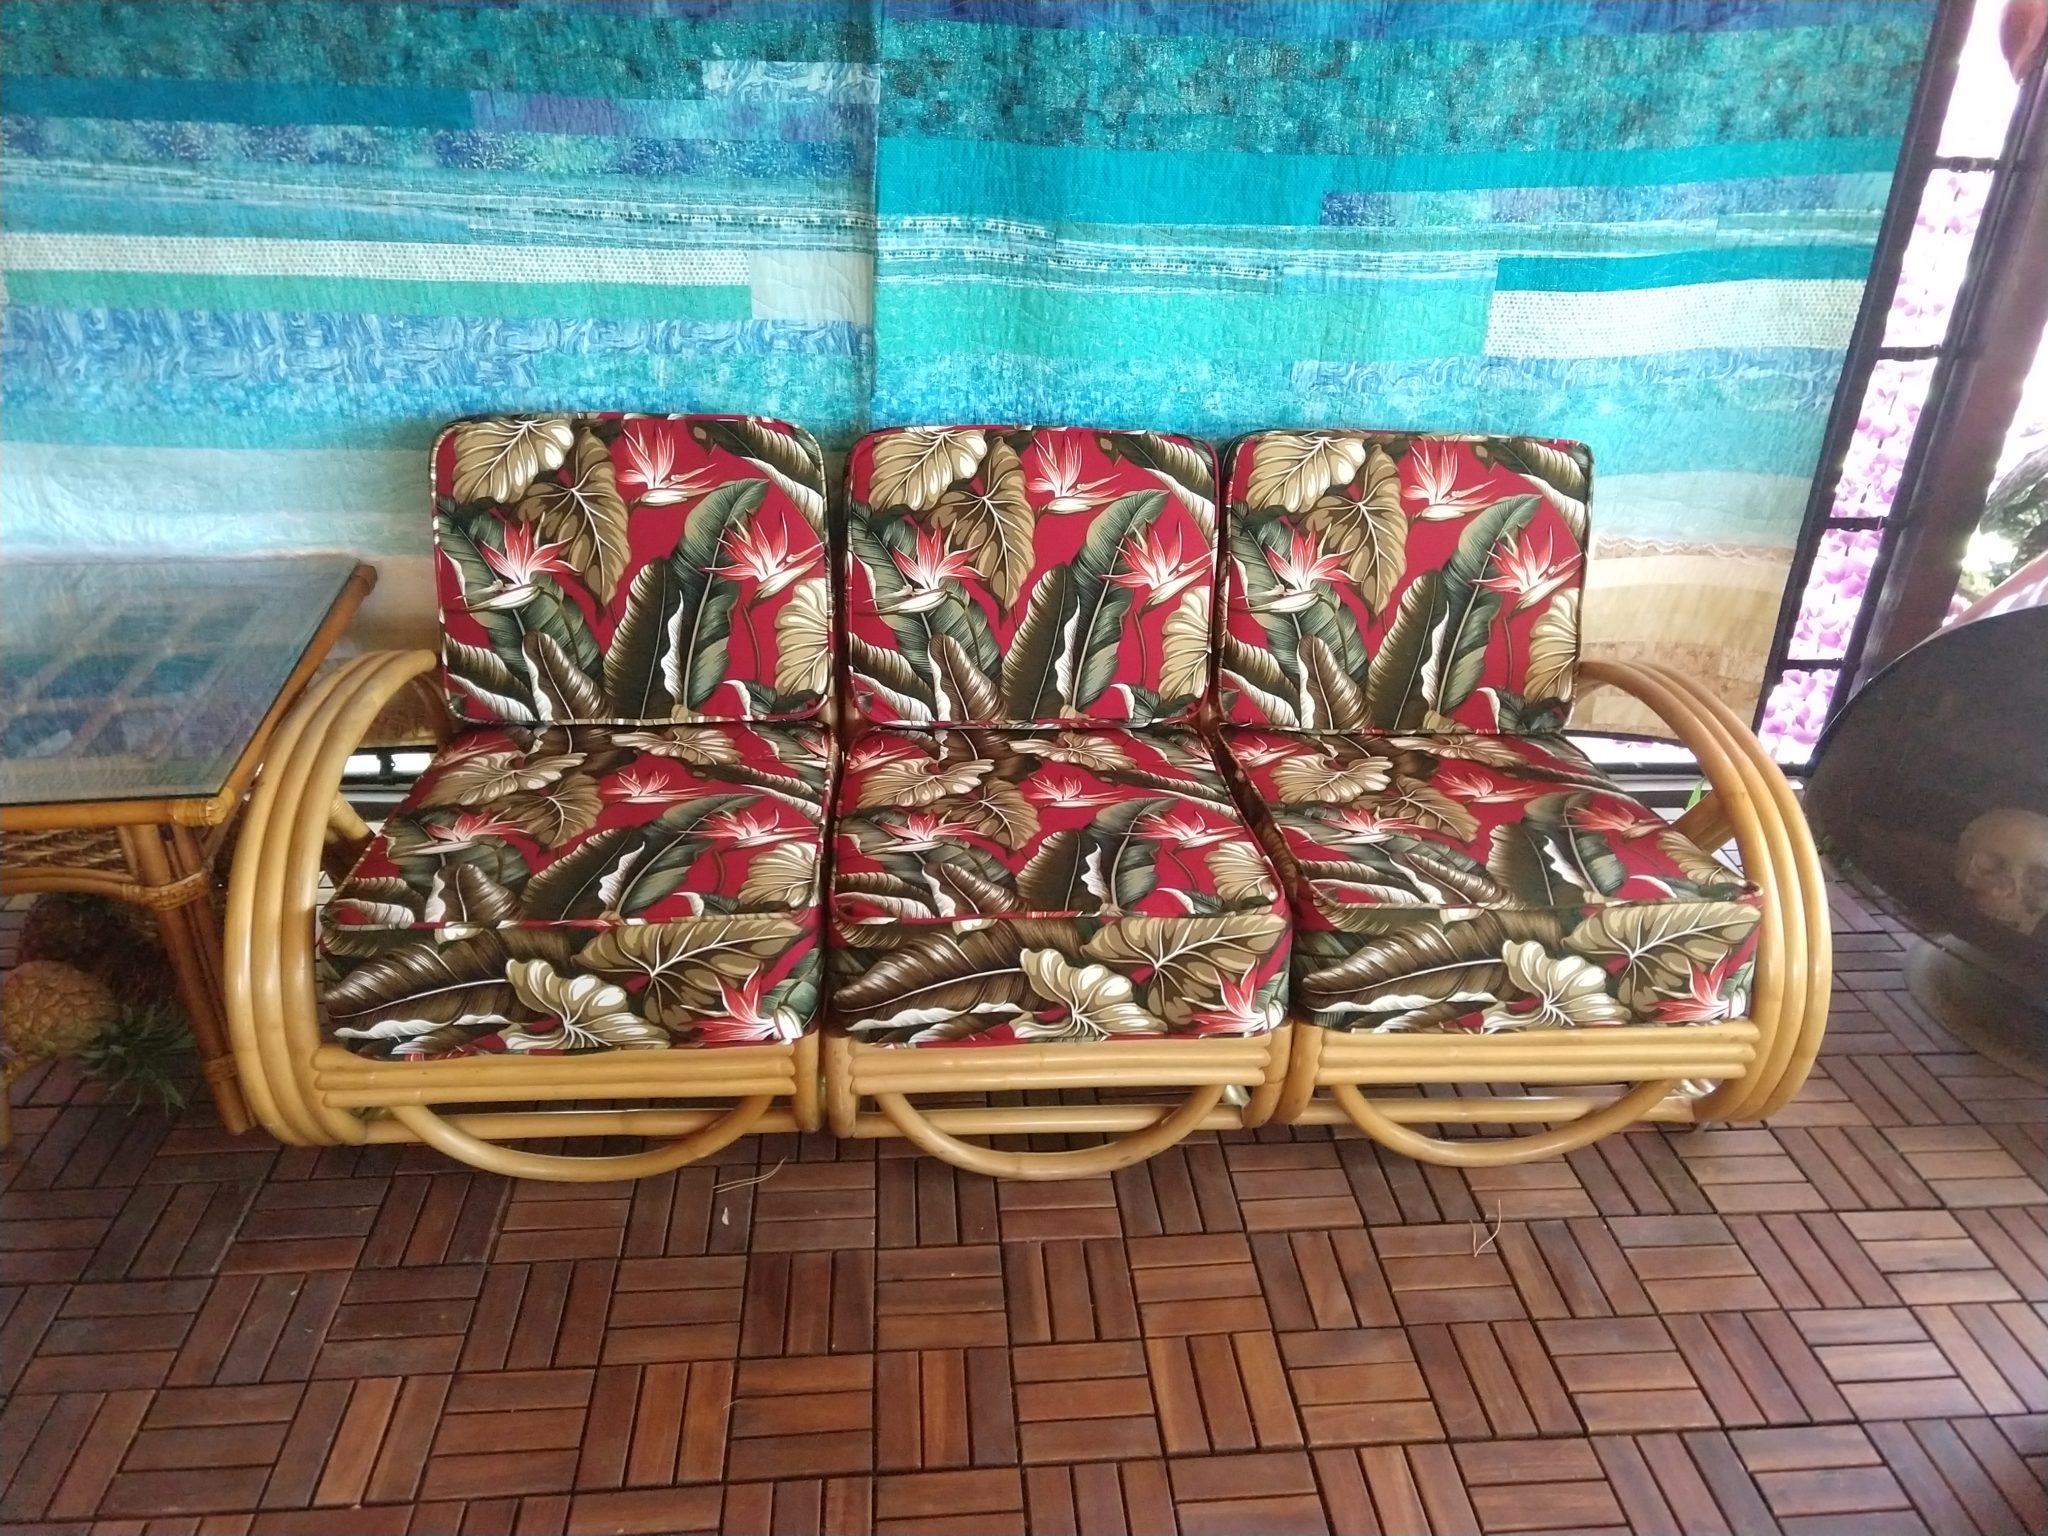
The corners were a bitch and most of my time was spent there, so I experimented with different techniques on each cushion, not thinking that they were going to be sitting next to each other. So all-in-all, I’m pretty happy except that the patterns between the chair and chesterfield don’t match and that all the corners are different.


You must be logged in to post a comment.